1 Introduction to Quarto
In this introduction to quarto, you will be shown the basics in how to set up a website and a book. For more detailed information, I highly recommend checking out the website and also watch the introduction tutorial.
1.1 Setting up
Quarto is the “next generation” of R Markdown and is usable on different tools.

Here, we will describe how to set up your environment to use Quarto in RStudio, and VSCode.
Quarto in general is set up to be very intuitive and user friendly. And while it is possible to set up different documents simultaneously, those can also easily be set up to in just the way you need for whatever occasion. So, for either communicating your results to collaborators, discuss code with your supervisor, setting up a website or writing your paper, to just name some scenarios, quarto comes in quite handy. So, let’s begin:
1.2 RStudio
For this, you have to download RStudio first. If you have done this already, we can get started.
1.2.1 Getting started
First, we have to install the quarto package using the following command in our console:
install.packages("quarto")
Now we are ready to set up a quarto document.
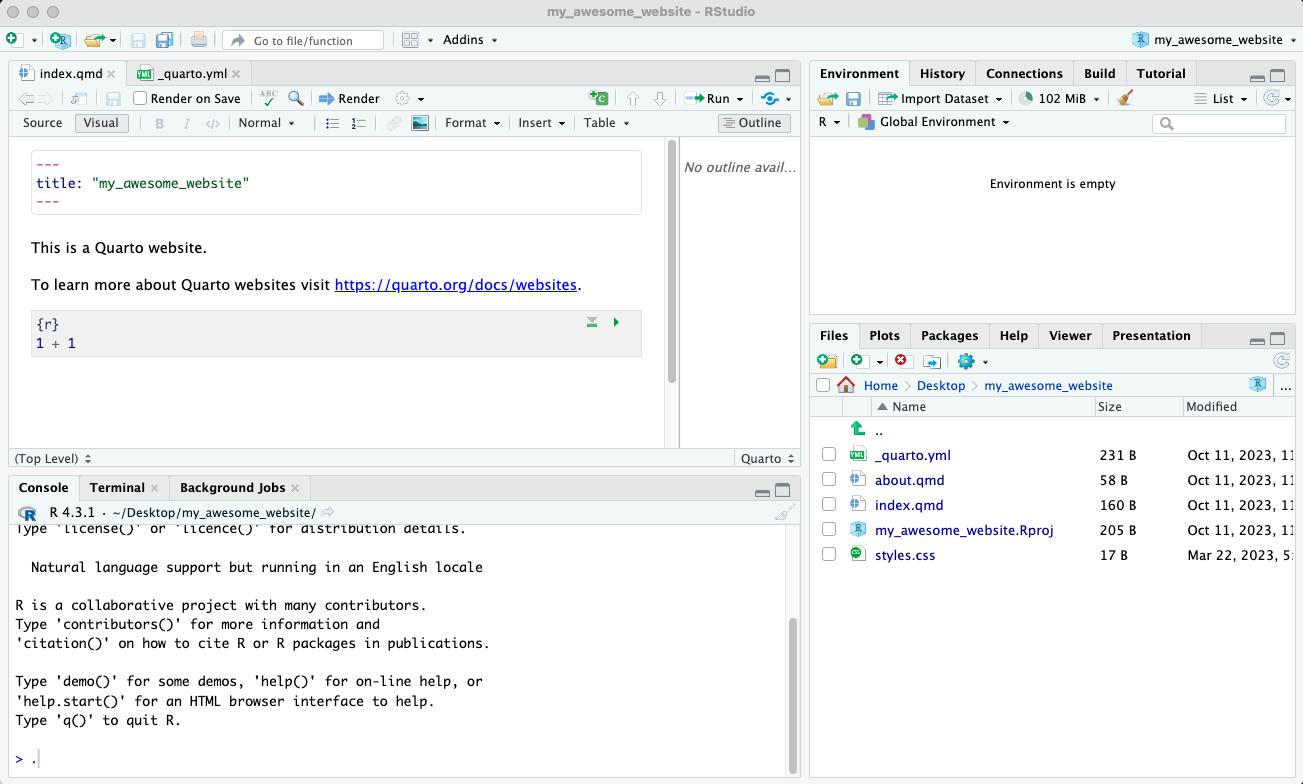
For this we open a new project and select the quarto document we want to create. You can choose to set up a git repository as well. For practicality, I usually also tick the box visual markdown editor.

The new project will look like this:
1.2.2 Universal instructions
When setting up your document, quarto will always provide you with some presets. So first, we will have a look into the .qmd files, for they are handled the same way, regardless the format you are setting up (website, book, presentation, etc.).
1.2.2.1 Render & save
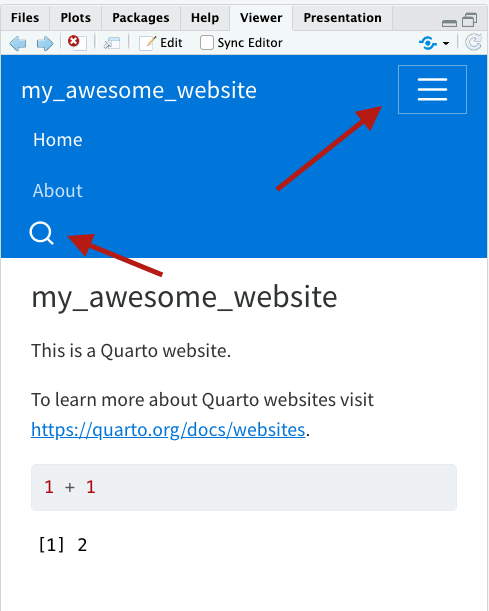
If we now click on render, we will be provided with the preview of our final version if the project in the viewer.
Important: Do not mistake “save” with “render”. Just by saving, your document did not get rendered automatically, unless you tick the box “Render on Save”. You have to tick that box on each .qmd file individually though.

1.2.2.2 Visual and Source
If you have chosen the Visual option on your toolbar, the preview will mostly resemble your .qmd files. If you are more comfortable with the R markdown optics, you can switch to Source.
In the Source version, you can write up your document in LaTeX.
1.2.2.3 .qmd files
Quarto will automatically provide you with two .qmd files, as well as a .yml file.
The .qmd files respond to the individual pages of your website or chapter of your book or pages of your presentation, etc. You can shape them individually or define the layout for all of them in the .yml file, to which we will get later.
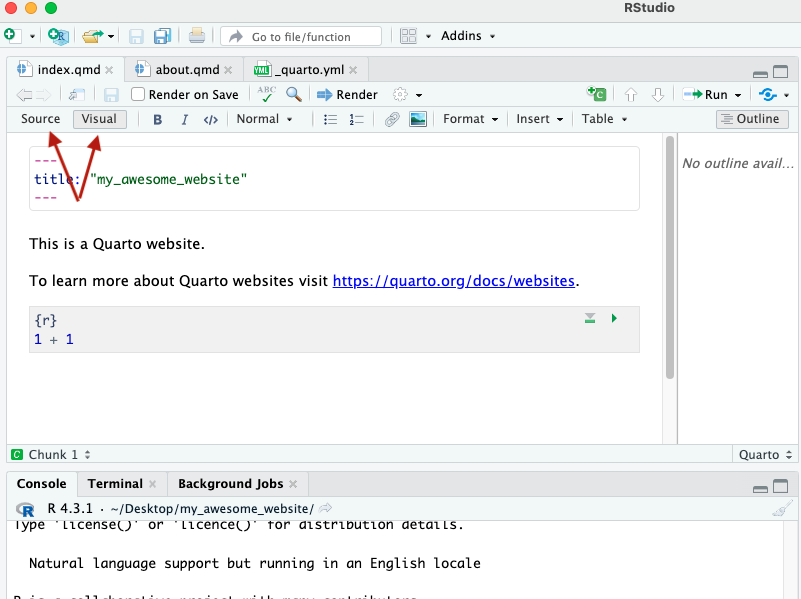
In your .qmd files you also find a yaml at the top of your document, separated by
---
---
Within these, you can define the outline of .qmd file individually, starting with the page header. Other options, you might be using in the future are:
author: Jessi Doe
-> will add an author underneath the header
execute: echo: true
-> if >true<, code will be visible
toc:true
-> if >true<, a table of content will be automatically added
bibliography: your_references.bib
-> file or list of files for your references
It is crucial to stick to the spacing. Otherwise, an error will occur.
1.2.2.3.1 Insert
If you click Insert, you will realize, quarto provides you with a lot of options and shortcuts as well. So by just selecting on your chosen item to insert, it will be added to the document, while you are also provided with options on the appearance (in the case of figure/images or tables, etc). We will here have a brief look into how to work with R code and how to use the reference option.
1.2.2.3.2 R code
To add R code to your file, you select Insert, select Code Cell and choose the kind of code you want to insert. In this case, R. There are some things to keep in mind though.
Depending on how you have set up your .qmd file (or your .yml), your code will be visible or not on your website. To check your output, you can click the green arrow for the latest bit of code or the grey arrow above a bar to run the previous code.

But in case there are some chunks of code, you do not want to show all the time, there are some nice sets.
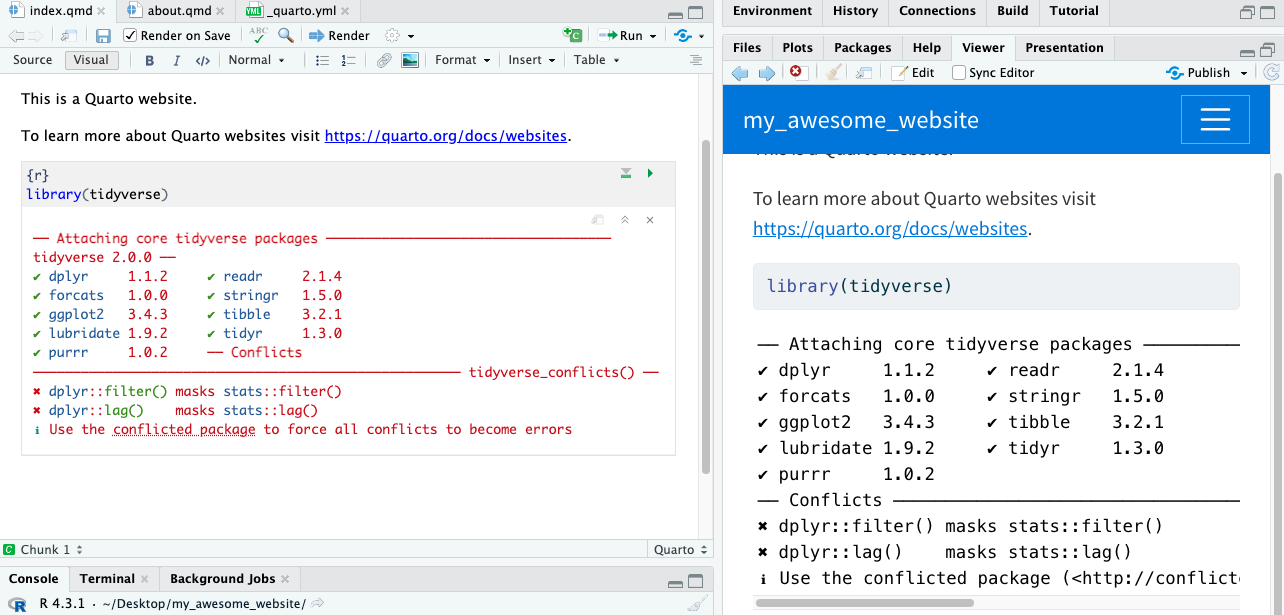
So if we just load the library tidyverse, for example, the additional information regardless and it will be also visible on our website.
To avoid this, we can set up a code chunk, looking like this:

This will prevent the output of this code chunk to be depicted on your website, while the package is otherwise active and can be used in the following R code. This is, by the way, true for all R code and data sets you will use: they will be active in your document and can be used in different code chunks, once provided.
A code block included in your document could look like the following. Here I used the option
code-fold: true so the code can be extended. This option is only available in html though.

1.2.2.3.3 References
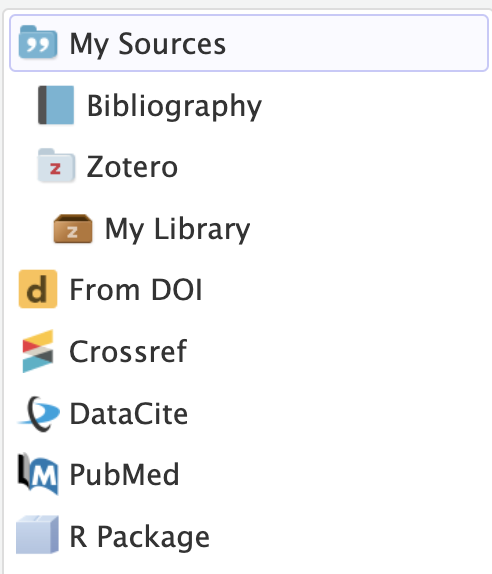
Depending on which citation program you are using, quarto is able to connect to it (Zotero works, for example). So, when selecting to insert a Citation, you can choose to simply add a reference from your program.
Alternatively, you are provided with some options to choose from:
In your source code and your website, a citation will be depicted as follows:

The citation will also automatically be added to a references.bib as well as to a references.qmd and is therefore available on your website on the page “References”, which also will be created automatically.
1.2.3 Render your document
When done with setting up your documents, you would like to have the actual output. Depending on the format you set in your .yml file, your output can be a html, pdf, MS Word, OpenOffice, or ePUB file. To create those, the terminal in your RStudio Project is used.
By using the command:
quarto render
all formats you predefined in your .yml file will be rendered.
In case you are only interested in one format to be rendered, you can specify your command:
quarto render -to pdf
Your rendered document should now look like this:
1.2.4 Quarto website
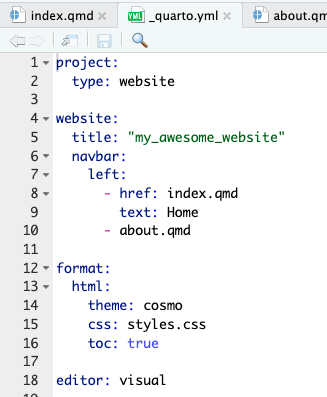
In the provided .qmd files, the index is also the first page of your website. As you might have noticed, quarto already sets up a navbar as well as a search function on your website.
1.2.4.1 .yml files
While your .qmd files contain information about one page, the .yml file defines the overall looks of the website.
Here, you can define the type of your project (in this case a website), you can change the name of the website (Title), define your navbar (which shall be your landing page and in what order your pages shall be set up) or the overall appearance of your website in general (theme, css, toc, backgroundcolor, etc.). For different styles and layouts, check out the quarto website again.
1.2.5 Quarto book
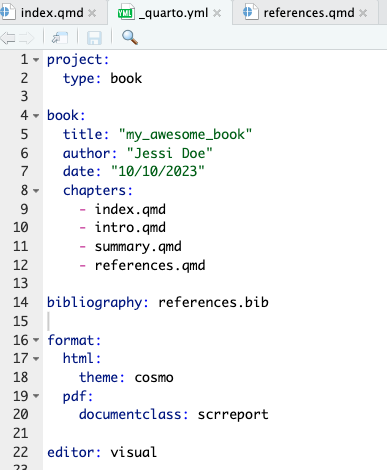
The setup of the .yml file in a quarto book is slightly different than that of the website. So here are some general remarks about them.
1.2.5.1 .yml files
We see, for example, that instead of a navbar, we find chapters. Those will appear in the listed order in your book.
We also already get provided with a bibliography and the responding .bib file. If you have other .bib files, those can be included in your references, by just adding them to bibliography.
_________________________________________________________________________
With this, you should at least have some ideas on how you can use quarto in your daily work routine. Happy coding and please feel free to contact me for any remarks or questions. I am happy to try and help.
1.3 VSCode
Much of the concepts as described in the RStudio tutorial above apply equally well to using Quarto in VSCode, just with a different interface to execute them.
Here we will describe how to set up VSCode and Quarto, and how to preview and render Quarto objects within the VSCode interface.
To understand about more about the details of which files to edit etc., please see the RStudio description above.
1.3.1 Getting Started
- Install the Quarto CLI tool for your operating system from the Quarto Website
- Install the VSCode Quarto extension
1.3.2 Using Quarto
The basic workflow is as follows:
- Create or modify
.qmdobjects etc as described above in the Rstudio section about Quarto markdown files - Within VSCode, make sure you’ve opened it in the repository containing all the files
- Press
ctrl + shift + p to bring up your command palette - To preview a local ‘live’ version of HTML or website versions, you can type
Quarto: preview. To close the live preview, press ctrl+c in the VSCode terminal. - To render all the files e.g. final HTML and/or PDF versions, you can type
Quarto: Render Project, where you will be given different options depending on the formats defined in the_quarto.ymlfile.
- To preview a local ‘live’ version of HTML or website versions, you can type
For further VSCode integrations, just type Quarto: into your command palette and explore all the options.